Easy Stained Glass Cookies
Highlighted under: Sugar Studio
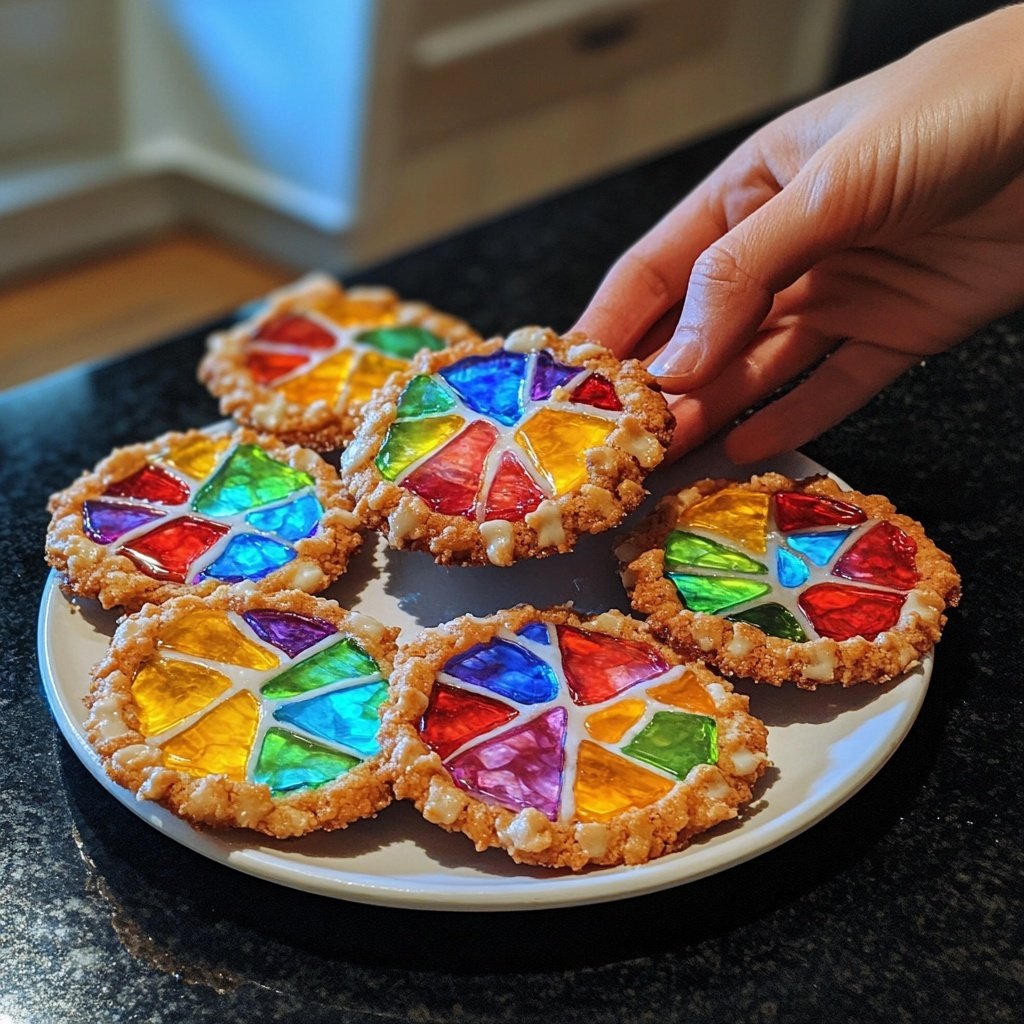
These Easy Stained Glass Cookies are a delightful treat that adds a touch of color and whimsy to any occasion.
Stained glass cookies are a fun and creative way to enjoy baking with the family. Their vibrant colors and unique designs make them perfect for holiday celebrations or just a fun afternoon activity!
Why You'll Love These Cookies
- Vibrant colors that brighten any occasion
- Simple recipe that's fun to make with kids
- Crispy edges and soft centers for the perfect texture
The Joy of Baking with Kids
Baking is a wonderful way to bond with children, and these Easy Stained Glass Cookies offer a fantastic opportunity to involve them in the kitchen. The vibrant colors of the crushed candies are sure to capture their attention, while the simple steps make it easy for them to participate. Whether it's measuring ingredients, mixing the dough, or choosing cookie shapes, every aspect of this recipe can be a fun, hands-on experience.
Encouraging kids to help in the kitchen not only teaches them valuable cooking skills but also promotes creativity. Allow them to experiment with different candy combinations or decorate the cookies once they're baked. This involvement can spark a lifelong love for baking and creativity in the kitchen.
Perfect for Every Occasion
These Easy Stained Glass Cookies are not just a treat; they’re a festive addition to any occasion. Whether you’re celebrating a holiday, attending a birthday party, or simply enjoying a sunny afternoon, these colorful cookies can bring a smile to anyone's face. Their eye-catching appearance makes them a great centerpiece for dessert tables, while their delightful flavor appeals to both kids and adults alike.
You can also customize the colors of the candies to match specific themes or celebrations. For instance, reds and greens for Christmas, pastels for Easter, or vibrant hues for a summer picnic. This versatility ensures that these cookies can be enjoyed year-round, making them a staple in your baking repertoire.
Tips for Perfect Cookies
To achieve the best results with your Stained Glass Cookies, there are a few tips to keep in mind. First, ensure that your butter is softened to room temperature for easy creaming with the sugar. This step is crucial for achieving the right texture and ensuring the cookies are light and airy. Additionally, when rolling out the dough, try to keep the thickness consistent to ensure even baking.
Another tip is to use a variety of colors for the crushed hard candies. Mixing different shades not only enhances the visual appeal but also creates a delightful mix of flavors in each cookie. Lastly, keep an eye on the baking time, as ovens can vary. You want the edges to be lightly golden but not overbaked, ensuring that the centers remain soft and chewy.
Ingredients
For the Cookie Dough
- 1 cup unsalted butter, softened
- 1 cup granulated sugar
- 1 egg
- 1 teaspoon vanilla extract
- 2 1/2 cups all-purpose flour
- 1 teaspoon baking powder
- 1/2 teaspoon salt
For the Stained Glass Effect
- 1 cup crushed hard candies (like Jolly Ranchers in assorted colors)
Mix well and chill the dough for a better texture.
Instructions
Prepare the Dough
In a large bowl, cream together the softened butter and sugar until light and fluffy. Add the egg and vanilla extract, mixing until well combined.
In another bowl, whisk together the flour, baking powder, and salt. Gradually add the dry ingredients to the wet mixture, stirring until a dough forms.
Chill the Dough
Wrap the dough in plastic wrap and refrigerate for at least 1 hour until firm.
Cut Out Cookies
Preheat your oven to 350°F (175°C). Roll out the chilled dough on a floured surface to about 1/4 inch thick. Use cookie cutters to cut out shapes, and then cut smaller shapes from the center of each cookie.
Add the Candy
Place the cookies on a parchment-lined baking sheet. Fill the center of each cookie with crushed hard candies.
Bake
Bake in the preheated oven for 8-10 minutes, or until the edges are lightly golden. Let them cool on the baking sheet for a few minutes before transferring to a wire rack to cool completely.
Enjoy your colorful stained glass cookies!
Pro Tips
- For best results, use a variety of hard candies for a colorful assortment. Make sure to crush them finely so they melt evenly.
Storage and Freshness
Once your Easy Stained Glass Cookies have cooled completely, storing them properly is essential to maintain their freshness. Place them in an airtight container at room temperature, and they can last for up to a week. If you want to keep them longer, you can freeze them. Just make sure to layer them with parchment paper to prevent sticking.
When you’re ready to enjoy the frozen cookies, simply take them out and let them thaw at room temperature. If you prefer them warm, a quick 5-10 minute bake at a low temperature will bring back that fresh-baked goodness.
Creative Variations
While the classic version of these cookies is delightful, don’t hesitate to get creative! You can experiment with different flavors by adding extracts like almond or lemon to the dough. Additionally, consider using different types of candies to create unique stained glass effects. Sour candies can add a tangy twist, while chocolate can provide a rich contrast.
For those who want to make these cookies even more festive, try adding sprinkles or edible glitter on top of the cookies before baking. This extra touch can make them even more appealing for special occasions, and kids will love the added sparkle!
Questions About Recipes
→ Can I use different flavors of hard candies?
Yes, feel free to mix and match flavors for a unique taste!
→ How do I store the cookies?
Store them in an airtight container at room temperature for up to a week.
→ Can I freeze the cookie dough?
Absolutely! Wrap it tightly in plastic wrap and freeze for up to 3 months.
→ What can I use instead of butter?
You can substitute with margarine or a vegan butter alternative.
Easy Stained Glass Cookies
Created by: Helena Wright
Recipe Type: Sugar Studio
Skill Level: Beginner
Final Quantity: 24 cookies
What You'll Need
For the Cookie Dough
- 1 cup unsalted butter, softened
- 1 cup granulated sugar
- 1 egg
- 1 teaspoon vanilla extract
- 2 1/2 cups all-purpose flour
- 1 teaspoon baking powder
- 1/2 teaspoon salt
For the Stained Glass Effect
- 1 cup crushed hard candies (like Jolly Ranchers in assorted colors)
How-To Steps
In a large bowl, cream together the softened butter and sugar until light and fluffy. Add the egg and vanilla extract, mixing until well combined.
In another bowl, whisk together the flour, baking powder, and salt. Gradually add the dry ingredients to the wet mixture, stirring until a dough forms.
Wrap the dough in plastic wrap and refrigerate for at least 1 hour until firm.
Preheat your oven to 350°F (175°C). Roll out the chilled dough on a floured surface to about 1/4 inch thick. Use cookie cutters to cut out shapes, and then cut smaller shapes from the center of each cookie.
Place the cookies on a parchment-lined baking sheet. Fill the center of each cookie with crushed hard candies.
Bake in the preheated oven for 8-10 minutes, or until the edges are lightly golden. Let them cool on the baking sheet for a few minutes before transferring to a wire rack to cool completely.
Extra Tips
- For best results, use a variety of hard candies for a colorful assortment. Make sure to crush them finely so they melt evenly.
Nutritional Breakdown (Per Serving)
- Calories: 150 kcal
- Total Fat: 7g
- Saturated Fat: 4g
- Cholesterol: 30mg
- Sodium: 50mg
- Total Carbohydrates: 21g
- Dietary Fiber: 0g
- Sugars: 10g
- Protein: 1g