Classic Aioli Sauce Recipe
Highlighted under: Taste of Continents
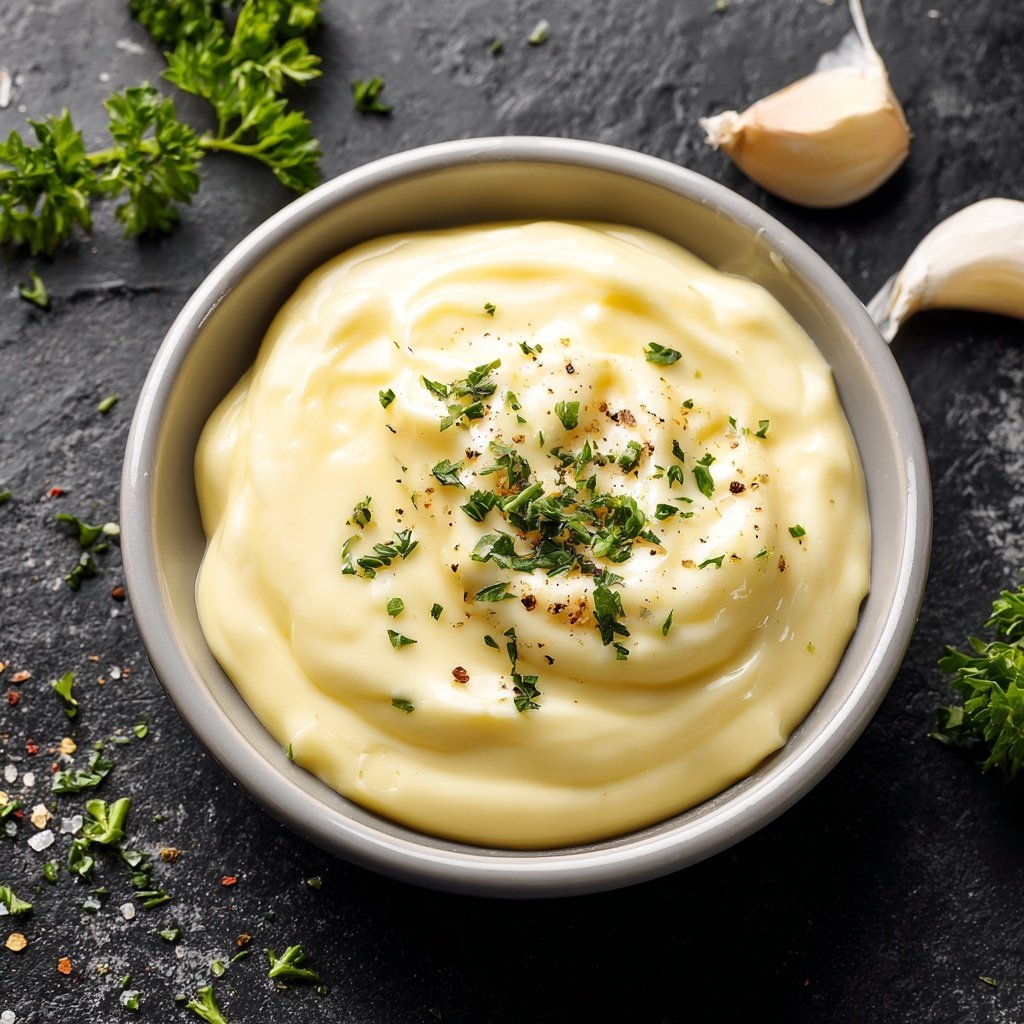
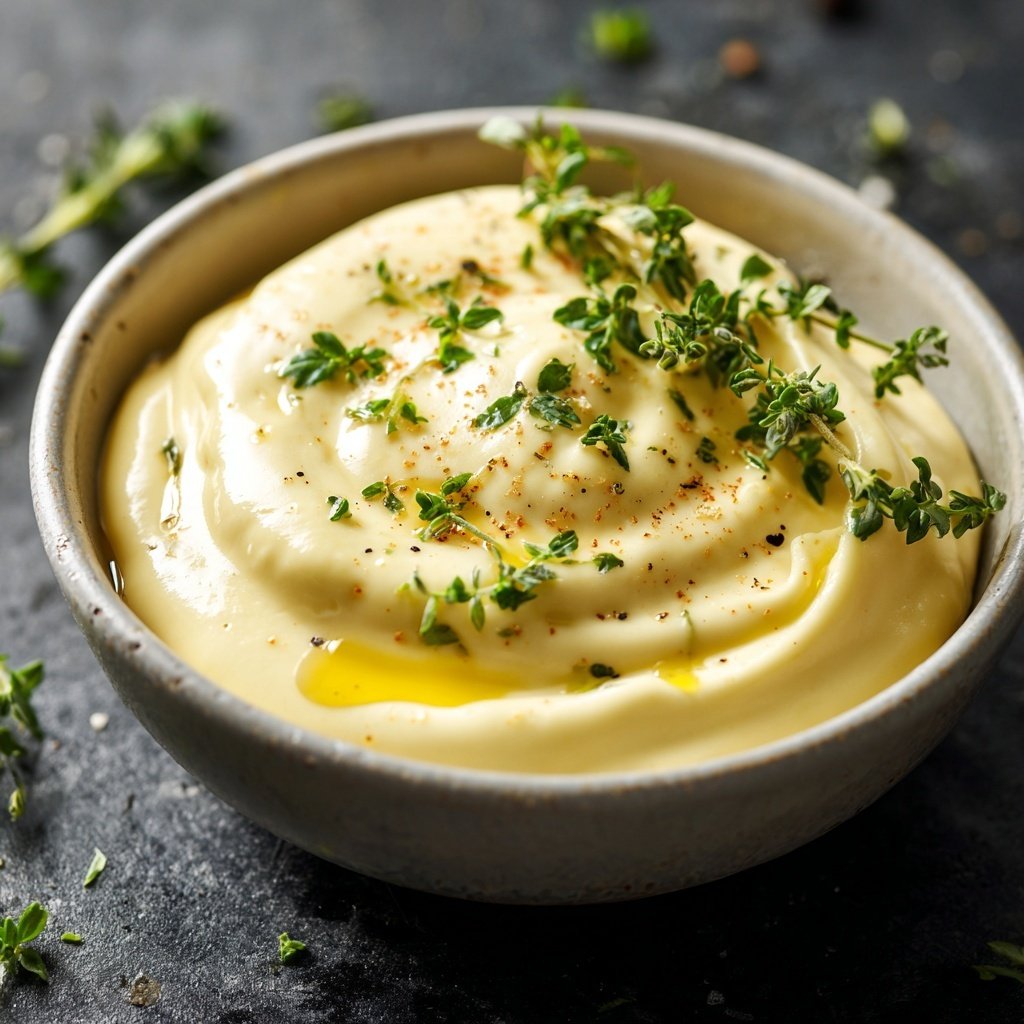
I absolutely love making aioli from scratch; the fresh garlic aroma and rich, creamy texture elevate any dish. This classic aioli sauce is my go-to for pairing with seafood, roasted vegetables, or as a spread on sandwiches. The combination of olive oil, egg yolks, and garlic creates a luscious and flavorful sauce that's surprisingly easy to make at home. In just 15 minutes, you can have this delicious condiment ready to impress your family and friends at your next gathering!
When I first tried making aioli, I was surprised by how simple it was. The secret lies in slowly incorporating the oil into the garlic and egg yolks while whisking vigorously. This method emulsifies the ingredients, creating that perfect creamy texture. I particularly enjoy adding a touch of lemon juice, which brightens the sauce and complements the richness beautifully.
I've experimented with various flavors, like roasted garlic and herbs, but I always return to the classic version for its versatility. Whether served with crispy fries or drizzled over grilled shrimp, this aioli never fails to satisfy my taste buds!
Why You'll Love This Classic Aioli
- Rich, homemade flavor that rivals restaurants
- Perfectly creamy texture that enhances every dish
- Easily customizable with herbs and spices
Understanding Emulsification
Emulsifying is the heart of making aioli. This process involves combining two ingredients that do not naturally mix—like oil and egg yolks. When you whisk the egg yolks and gradually drizzle in the olive oil, you're allowing the oil to coat the fat molecules in the yolk, creating a stable mixture. Be careful not to add the oil too quickly, as it can lead to a broken aioli, where the ingredients separate. Ideally, this should take around 2-3 minutes of continuous whisking to achieve a thick and glossy emulsion.
If you notice that the aioli is becoming too thick, add a teaspoon of water or an additional egg yolk to help loosen it. Conversely, if the mixture is too runny, it might need more oil or whisking to stabilize. The key visual cue is a shiny, thick consistency that clings to your whisk—this indicates the emulsification is successful.
Ingredient Insights
Each ingredient in this aioli plays a crucial role. The egg yolks not only provide rich flavor but also act as emulsifiers that help bind the oil to the other ingredients. Fresh garlic injects a sharp depth, and using minced garlic instead of garlic powder ensures that you capture the bold flavor effectively. If you're looking for a milder taste, consider roasting the garlic beforehand as this caramelizes the cloves and sweetens their flavor.
The quality of the olive oil impacts the overall taste of your aioli. I recommend using a high-quality extra virgin olive oil because it has a more robust flavor that can stand up to the garlic. If you want a different flavor profile, avocado oil can be a great substitute for a milder aioli, or blend olive oil with a bit of grapeseed oil for a lighter taste.
Serving and Storage Tips
Aioli is extremely versatile and pairs beautifully with an array of dishes. While it's perfect with seafood, don't shy away from using it as a dip for fresh vegetables, a spread on sandwiches, or even drizzled over grilled meats. I often garnish with fresh herbs like parsley or dill for added flavor and a pop of color. For a fun twist, experiment by adding flavors such as smoked paprika or lemon zest to change the profile.
This aioli can be made ahead of time. Store it in an airtight container in the refrigerator for up to three days. However, be mindful that the garlic flavor may intensify, so adjust accordingly if making it in advance. If the aioli becomes too thick after refrigerating, simply whisk in a teaspoon or so of warm water to restore its creamy texture before serving.
Ingredients
Classic Aioli Sauce
- 2 egg yolks
- 2 cloves garlic, minced
- 1 cup olive oil
- 1 tablespoon lemon juice
- Salt to taste
Instructions
Prepare the Base
In a medium bowl, whisk together the egg yolks and minced garlic until well combined.
Emulsify the Mixture
Slowly drizzle in the olive oil while continuously whisking to create an emulsion. This step is crucial for a creamy texture.
Add Flavor
Once the mixture thickens, add the lemon juice and salt. Adjust seasoning to taste, whisking until the aioli is silky smooth.
Pro Tips
- For a more intense garlic flavor, consider using roasted garlic instead of raw. Additionally, ensure all your ingredients are at room temperature for optimal emulsification.
Common Troubleshooting
If your aioli separates, fear not! This can happen, especially if the oil was added too quickly. You can rescue it by whisking another egg yolk in a clean bowl and slowly adding the broken aioli while whisking vigorously. This will help re-emulsify the mixture and regain that creamy consistency you’re aiming for.
Another issue to watch for is the consistency; if it turns out too runny, be sure to whisk in additional oil gradually. It's better to work slowly to achieve the desired thickness without damaging the emulsion you’ve created. Aim for a texture that's thick enough to hold its form on a spoon but smooth enough to spread easily.
Making It Your Own
One of the joys of aioli is its adaptability. Feel free to experiment with various flavor components, such as replacing lemon juice with vinegar for a tangier bite or adding fresh herbs like basil or cilantro for a completely different twist. These variations can elevate your aioli to perfectly complement the dishes you're serving.
For those watching calorie counts or fat intake, consider using light mayonnaise as a base combined with a bit of garlic and lemon juice. While this won’t replicate the traditional texture and flavor of homemade aioli completely, it can still deliver a satisfying dip with much less oil.
Questions About Recipes
→ Can I use a blender instead of whisking by hand?
Yes, a blender or food processor can make the process easier; just add the ingredients and blend until emulsified.
→ How long can I store homemade aioli?
Homemade aioli can be stored in the refrigerator for up to a week in an airtight container.
→ Is it safe to use raw eggs in aioli?
Using raw eggs carries a risk of salmonella, so ensure you use high-quality, fresh eggs or pasteurized eggs.
→ Can I make aioli without eggs?
Yes, you can make egg-free aioli using aquafaba (the liquid from canned chickpeas) as a binder instead!
Classic Aioli Sauce Recipe
Created by: Helena Wright
Recipe Type: Taste of Continents
Skill Level: Beginner
Final Quantity: 1 cup
What You'll Need
Classic Aioli Sauce
- 2 egg yolks
- 2 cloves garlic, minced
- 1 cup olive oil
- 1 tablespoon lemon juice
- Salt to taste
How-To Steps
In a medium bowl, whisk together the egg yolks and minced garlic until well combined.
Slowly drizzle in the olive oil while continuously whisking to create an emulsion. This step is crucial for a creamy texture.
Once the mixture thickens, add the lemon juice and salt. Adjust seasoning to taste, whisking until the aioli is silky smooth.
Extra Tips
- For a more intense garlic flavor, consider using roasted garlic instead of raw. Additionally, ensure all your ingredients are at room temperature for optimal emulsification.
Nutritional Breakdown (Per Serving)
- Calories: 120 kcal
- Total Fat: 14g
- Saturated Fat: 2g
- Cholesterol: 70mg
- Sodium: 90mg
- Total Carbohydrates: 1g
- Dietary Fiber: 0g
- Sugars: 0g
- Protein: 1g